I have to admit that when I first started taking crochet seriously, I still resisted making garments. I gave myself about a million reasons why crochet garments just weren’t worth my time. As you know by looking at this blog, I like to keep things simple. I love crochet in its most calming form. I don’t need to overcomplicate things to get a lot out of my stitching, and in general, I just love simple, classic-looking pieces. So, I counted garments out for a really long time.
It wasn’t until I dove head first into designing that I gave garment making a try. And, let me tell you, once you go garment, it is so hard to go back. In the past year, I have dipped my toes into garment making and now garment designing and making wearable items is pretty addictive.
Sidenote: I’ve also been studying up on just how to design garments that are more fitted and flattering to all sorts of body types. I have found so much inspiration through this book: The Crocheter’s Skill – Building Workshop by Dora Ohrenstein Fellow designers, or aspiring designers, this one is a must read. Once I work my way through it completely I will definitely dedicate a blog post to this one:

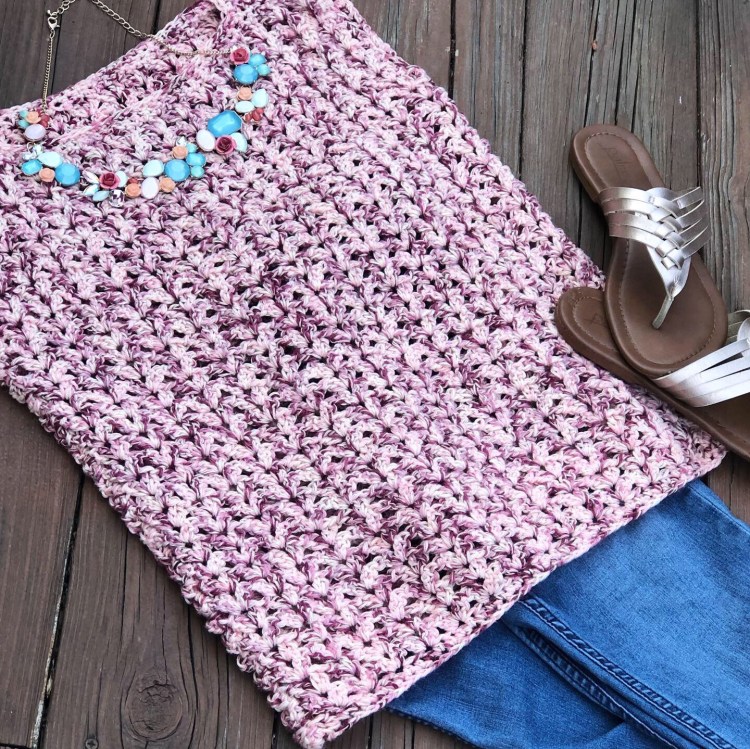
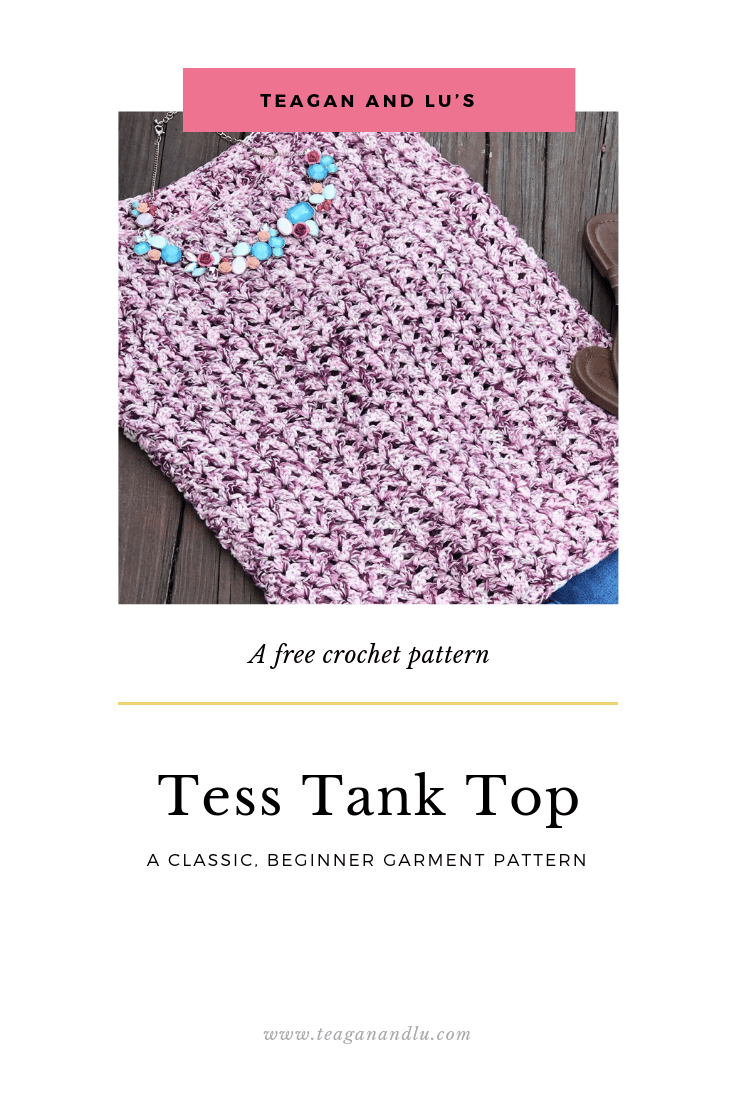
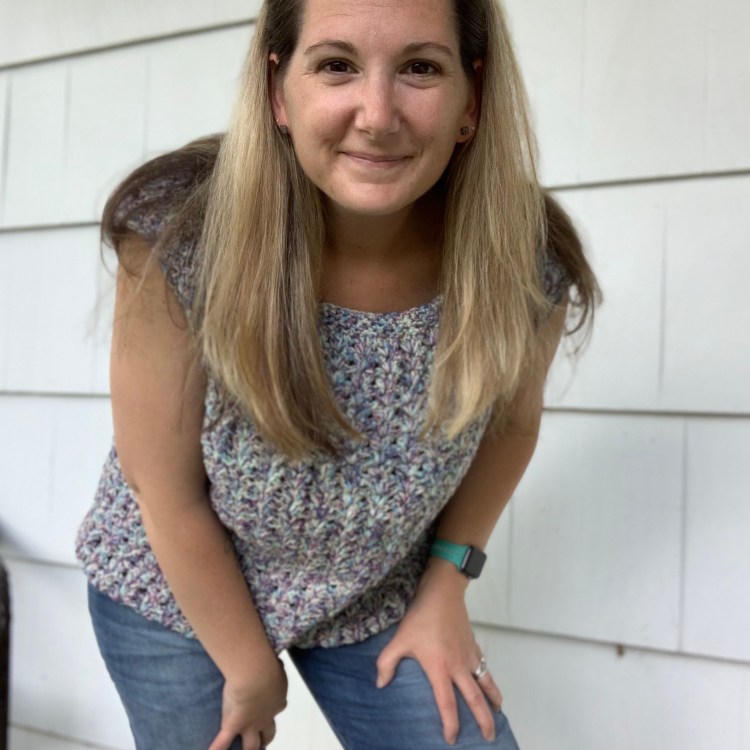
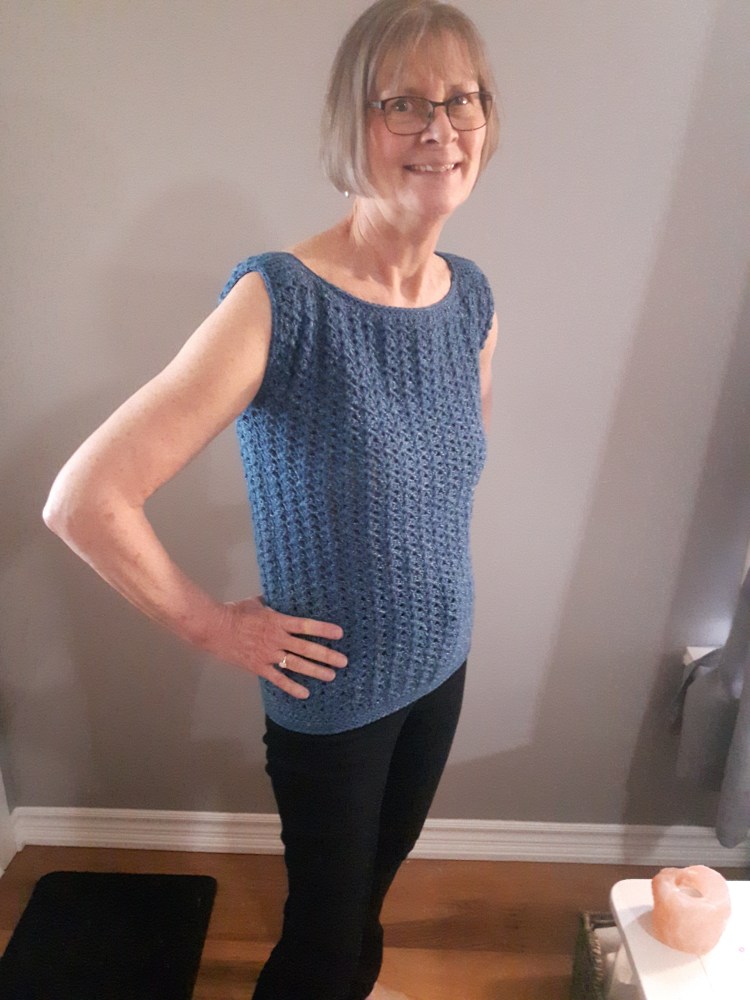
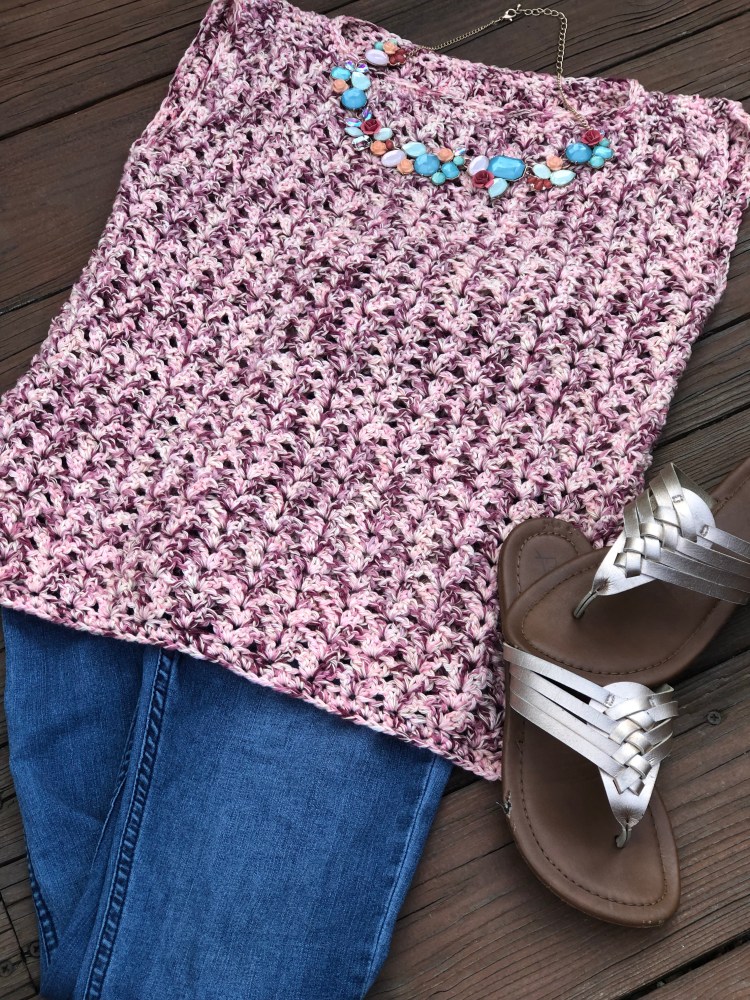
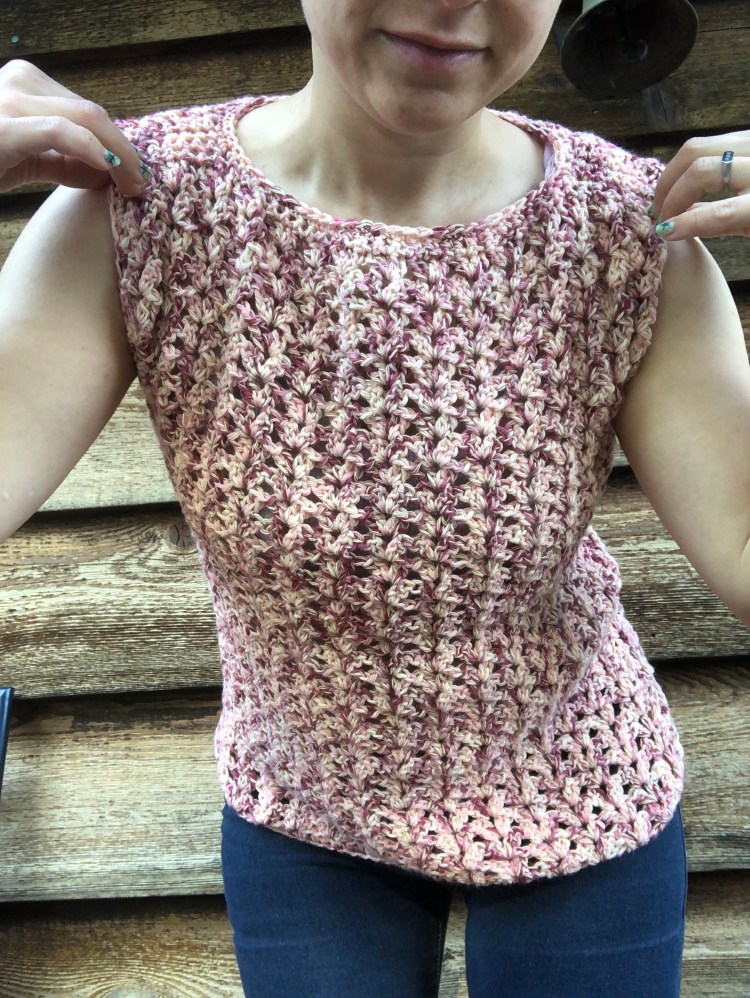
I still like to keep things simple, though. My favorite projects are completed in a few short sessions, and I’ll always love something that everyone feels like they can wear. And, I think the Tess Tank Top IS that garment.
This piece can absolutely and easily be made by a beginner, and the result is a unique-looking, flattering top that really is for everyone. So, I decided to offer this top on my blog for free, in hopes that it would become your “gateway project” into tackling garments.
This top is constructed really simply and can be easily adapted to get a custom fit. I hope you love making it. I’ve included the pattern here, but if you would like to purchase an Ad-Free PDF, that can be found on my Ravelry and Etsy sites (coming soon).
Also, the links you see below are affiliate links through Amazon and Lion Brand. This means that if you purchase something by way of the link I have provided, I get a small kickback.
This top has been tested extensively, but always look at the comments below (and leave one too!) to make sure that I haven’t added or clarified anything since originally published. Without further ado, here is the pattern for the Tess Tank Top.
I hope you love making it! Please share your finished makes with my by tagging me on Instagram or Facebook. Nothing makes me happier than seeing my designs come to life in your hands!
Materials:
5.0mm Crochet Hook like my favorite clover hooks
Between 600 and 1500 yds of Lion Brand Comfy Cotton Blend Yarn (or any 3 weight yarn that is able to stretch easily)
(3 Pack) Lion Brand Yarn 756-709 Comfy Cotton Blend Yarn, Ocean Breeze
Measuring Tape
Tapestry needle
Safety pin style stitch markers
Scissors
Abbreviations:
CH: Chain
SC: Single Crochet
HDC: Half Double Crochet
DC: Double Crochet
EDC: Extended Double Crochet
IS: Iris Stitch (2DC in Same st, CH1, 2DC in same St)
SlSt: Slip Stitch
FSC: Foundation Single Crochet
Gauge Pattern:
Using the 5mm hook
Ch 22
Row 1: Beginning in second ch from hook, SC across. Turn.
Row 2: CH 2,* sk 2, IS* repeat across and EDC into last st.
Row 3: CH2, IS in the center of each IS from previous row. DC in final st.
Rows 4- 10: Repeat Row 3.
4×4= 4 Iris stitches (at their widest edge) by 5.5 Iris Rows
Sizing Guide and fit statement:
This garment is designed using the sizing guidelines from the Craft Yarn Council. It is designed as a true to size, close fitting garment. It is designed with 0-1” positive ease for the true measurements of each size, however, length of the top can easily be adapted to create a longer top (yarn amounts do not reflect these changes for each size).
Please examine the size chart below with special attention to the bust measurements to determine what size suits the fit you desire.
https://www.craftyarncouncil.com/standards/woman-size
Note on construction:
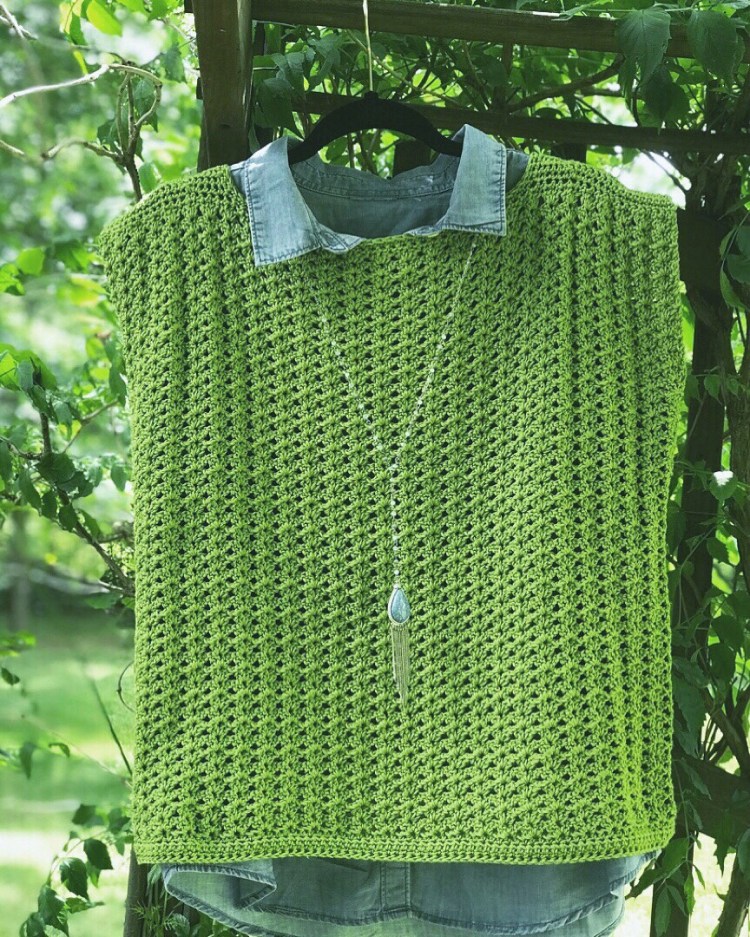
This piece is constructed by creating two flat panels and joining at the shoulder seams and sides. You will finish the piece by adding the neckline and sleeves as your final finishing steps.
The panels will be identical in size for this top, with the only difference being the added shoulder straps for the front panel.
After your first Iris rows, you’ll notice a slight curve to each of the panels. That’s OK! Once it is seamed, it should even out.
Obtaining a Custom Fit:
Should you choose to make this top a bit longer or wider than written, first measure the widest part of your body that the top will cover, and begin your FSC to match or exceed that measurement (foundation should be in multiples of 3 stitches), then simply measure your torso from the shoulder blade, over the chest, to area you’d like the top to begin to cinch. Work each panel’s Iris Stitches to that measurement. Continue on with the finishing directions.
Pattern notes
- Stitch counts for each size appear in this format XS (S, M, L, XL)
- Please contact the designer directly if you would like help converting to larger sizes. I am happy to help you get the best fit possible!
- Turning Chain 2 stitches will always count
- Turning Chain 1 stitches will never count
Pattern:
Front Panel — in 5.0mm hook
FSC 48 (54, 60, 66, 72)
Row 1: Working into the first stitch from the hook, HDC into each CH across. CH 1 and Turn. 48 (54, 60, 66, 72)
Row 2: HDC across. CH 2 and turn. 48 (54, 60, 66, 72)
Row 3: *Sk 2, IS* Repeat across to last 2 st, SK 1 and EDC in final st. CH 2 and Turn. 15 (17, 19, 21, 23 Iris Stitches)
Row 4: IS in each ch sp from the IS from the previous row. EDC in final stitch (turning chain from previous row). CH 2 and turn.
Rows 5 – 30 (32, 34, 36, 38): Repeat Row 4. (At the end of final row, CH 1 and Turn.)
Row 31 (33, 35, 37, 39) : SC in same st, *sk 1, SC* to end. SC in last two sts. CH 1 and turn. 39 (45, 50, 57, 63 SC)
Rows 32 (34, 36, 38, 40) – 36(38, 41, 44, 46) : SC in next 8 (10, 12, 12, 12) sts. Ch 1 and turn.
Break Yarn and attach at opposite side.
Repeat for opposite arm.
Bind Off.
Back Panel – REPEAT ROWS 1 – 31 (33, 35, 37, 39)
Construct Your Top:
With Wrong sides facing one another, use the mattress stitch to seamlessly attach the back and front panels at the shoulder.
Once joined at the shoulder, turn inside out and place a stitch marker where you prefer the armhole depth. CYC recommends 6” (6.5”, 7”, 7.5”, 8”) . Using your favorite method of seaming, seam both sides from the bottom, up to the stitch marker and flip right side out.
Finishing: Using the 5 mm hook
(Bottom Band is optional)
Bottom Band:
Along the bottom of your top (and working on the right side), attach yarn.
Round 1: SC around, joining with a SlSt. Ch 1.
Rounds 2 – Desired length: SC around. Joining each round with a SlSt.
Arms:
Round 1: Joining at the bottom of the arm hole, SC evenly around and SlSt.
Round 2: SC around joining with a SlSt.
Bind off and repeat on opposite arm.
Neckline:
With top right side out, attach yarn at the front right edge of the neckline.
Rounds 1 – 3: SC around in each st.
Weave in all ends and your top is complete!