The Alice Earwarmer is by far my most popular pattern and beat selling finished item. I’m so excited to offer it here as a FREE pattern.

The Alice Earwarmer was born of necessity: my, at the time, two-year-old daughter wouldn’t wear a hat to save her life, and if I was able to get something on her head, it would inevitably end up over her sweet little eyes on our long car commute. So, Alice got her own earwarmer. I wanted it to be extra textured and and warm, and be cinched so if it migrated down a bit, she’d still be able to see.
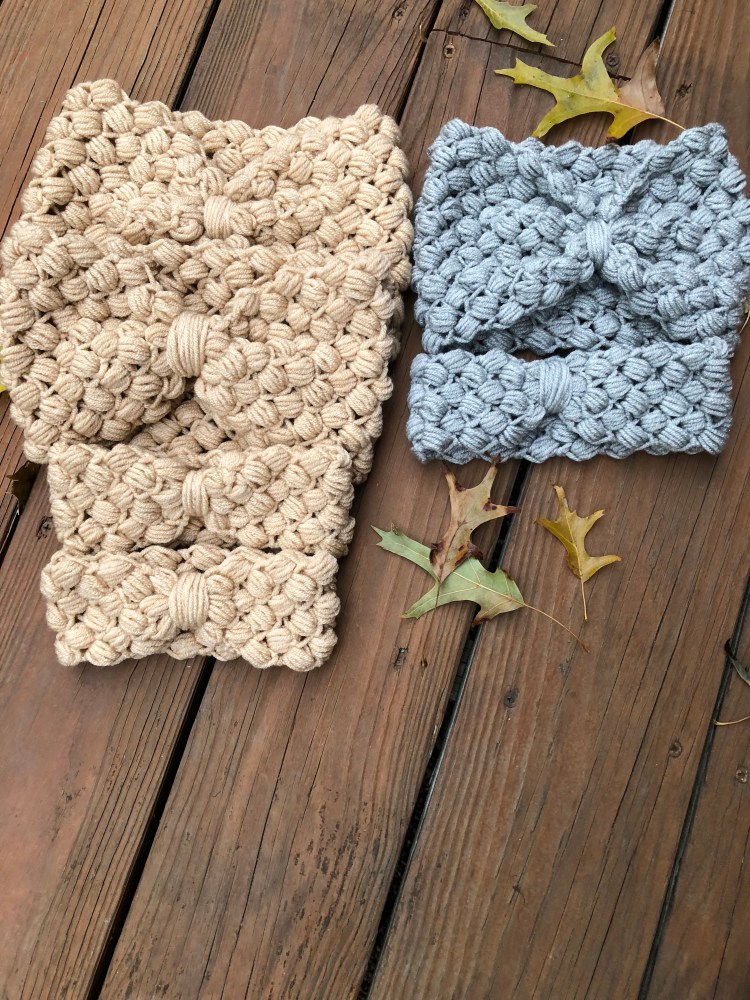
Once I made the first version, I experimented with different yarn weights, but settled on the look and feel of a bean-stitched worsted. I have found that Mary Maxim’s Woodlands yarn is a perfect match for this project. It’s soft and squishy and has the perfect amount of stretch.
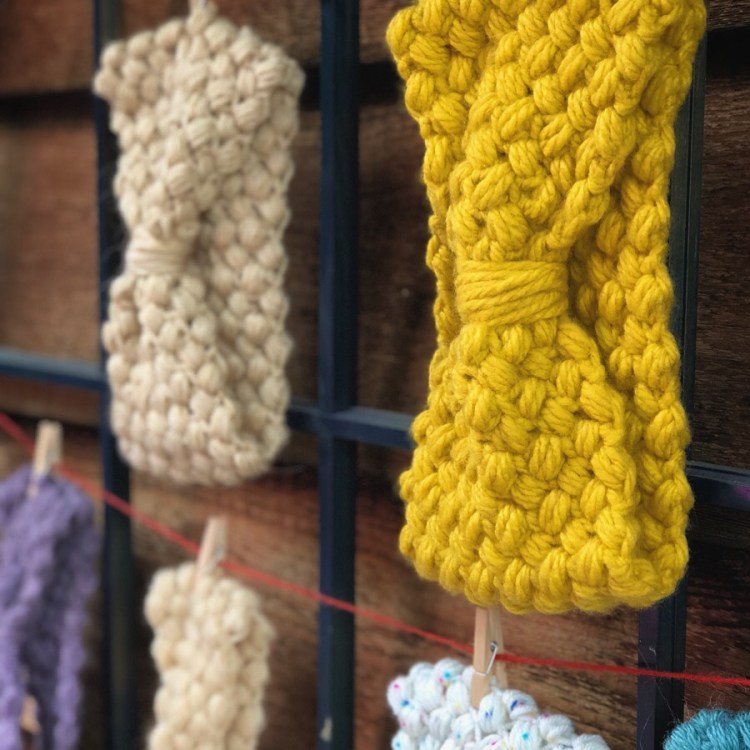
This pattern is fast, relaxing and yields a result that really suits just about anyone. (A fun tip: if you skip the final cinching step, it’s a suitable, unisex piece.) This free pattern is also available on my Ravelry page where I frequently post quick, free patterns. I would love to see your project added to Ravelry or Instagram!

Teagan and Lu’s
Alice Earwarmer
MATERIALS:
150 yds Mary Maxim Woodlands Yarn
5.0 mm crochet hook
Tapestry needle
Scissors
Measuring tape
ABBREVIATIONS:
Ch: chain
B: Large Bean Stitch
Sk: skip a stitch
Stitch Explanation:
Create the large Bean stitch by working your stitches into the side of the previous row’s stitches. Work the stitch as follows:
- Insert hook into the side of the stitch from the previous row (see photo), pull up a loop (2 loops on hook).
- Yarn over, pull up a loop (4 loops on hook).
- Repeat step two three more times until there are 10 loops on the hook.
- Yarn over and pull through all 10 loops.
- Chain 1.
Pattern
Begin by chaining 15 (or in multiples of 2 plus 1).
Row 1: Working into 3rd Ch from the hook, B, *sk 1 ch, B, repeat from * to last ch. Ch 1. Turn.
Row 2: B across, Ch 1. Turn
Row 3: Repeat Row 2 until piece measures 18” (or desired length)
Do not break yarn.
Joining
Hold both ends together and join by slip stitching across. Work slip stitches through the center of each bean stitch to prevent excessive stretch with wear.
Flip right side out.
For a flat ear warmer, bind off and weave in ends.
Finishing
If gathering, cut the tail after joining to 3 ft.
Wrap around the joined seam in evenly distributed wraps creating a knotted look.
Secure the end and weave in the tail.
A note from the designer
Thank you for downloading this pattern! It is the express property of Theresa Denham of Teagan and Lu, and should not be altered, distributed or otherwise copied without copyright attribution. © Teagan and Lu 2018
Social Media
I would love to see the earwarmer you have created! Feel free to share photos of your completed earwarmer on Instagram with the hashtag #aliceearwarmer, and tag @TeaganandLu so I can see and share your work!

